Making an adorable Disney inspired snowman for under $5

Cute and cheap to make using materials from Dollar Tree, Michaels, and other supplies from home. He is pretty easy to make although it takes a little while to sew it together but I did it while watching tv so it might be faster if you give it your full attention. It is not a very precise project, so working with felt and using paper to make patterns will help make sure it comes out just as you would like.

If you want to make one of your own or get some inspiration here are the materials for the snowman:
Snowman wire frame from Dollar Tree ($1.25)
Two pack of textured cleaning cloths from Dollar Tree ($1.25)
2 black felt sheets from Michaels (49¢ each)
2 red felt sheets from Michaels (49¢ each).
Additionally, you will need pins (note quilting clips work really well if you have them), needle and thread (black and white are essential, also having red will make the hat easier and come out better than the one I made), scissors, and scrap paper and pen for marking and making patterns. Optionally, you could use some stuffing if you wanted for the ear.
HOW TO MAKE THE SNOWMAN
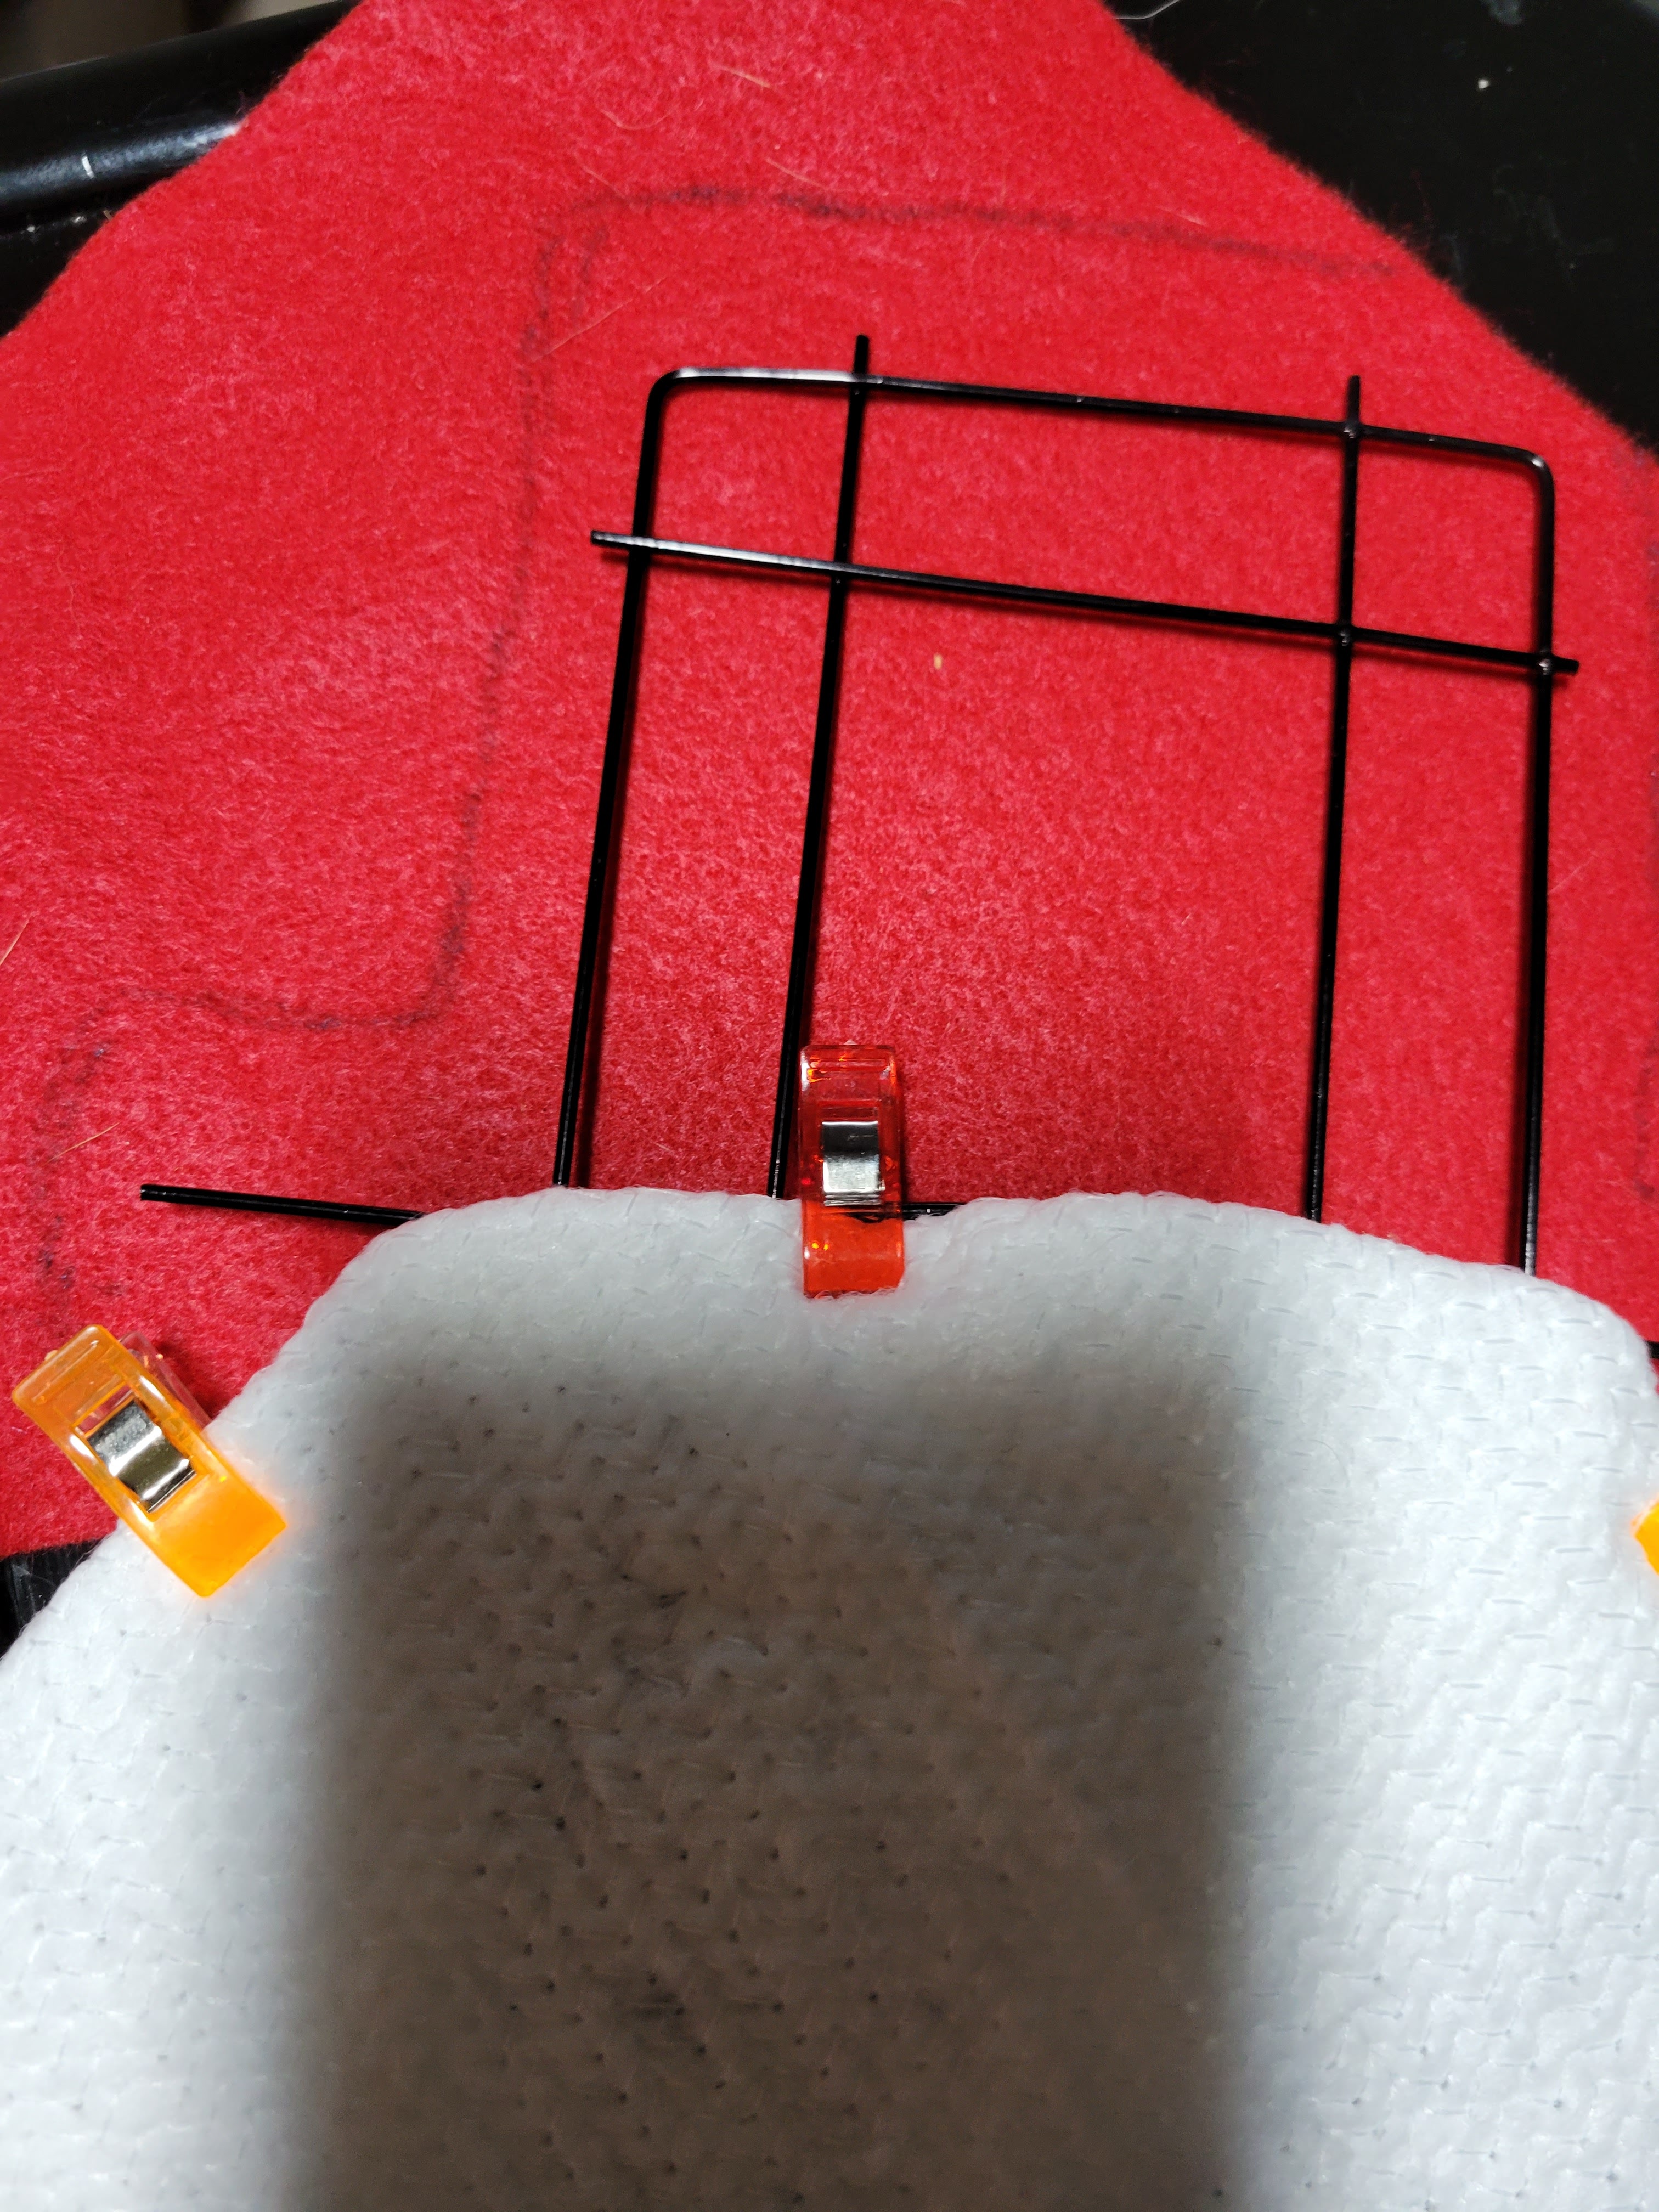
1. Cut your pieces of felt. To cut the hat, place the frame over scrap paper and mark the shape of the hat, allowing a small border for where you will sew it together and cut it out to create a pattern piece for the hat. If you do not have red thread and will need to flip the hat inside out, you can mark it directly on the felt as shown below. You will need to cut two of these red hat pieces. Also cut a strip of black felt along the shorter edge of piece to use as the detail on the hat. For the ear, nose, and eyes, I drew the shapes on brown packing paper to make a pattern pieces and cut out two ears, one nose, and two eyes. For the mouth, cut a long thin strip of black felt that will be placed to shape a smile.

2. To make the snowman, stretch out the cloth and attach one to each of the snowman circles, folding over the excess cloth around the frame and holding in place with the quilting clips or pins. Note that for the lower circle you will have to stretch out the cloth as you clip in place, start from the top of the lower circle so that the bulkier part of the material will not be where the two circles meet. When applying the cloth the upper circle, it helped to tuck in the excess material under part of the hat frame to reduce the amount of bulk under the hat.


3. Once you have clipped (or pinned) all the cloth around the frame, using white thread, sew along the inside of the frame making sure to catch all of the material in the back so that it can be secured and tightly attached.

4. For the ears, align and secure the two ear pieces to each other and sew along the edges using black thread to add some dimension to the ear. (If you want to stuff the ear, stop sewing about 3/4 of an inch before finishing up, flip it inside out so that the seam/edge is on the inside and fill it fiberfill stuffing and sew the edge shut.) Place the ear piece behind the snowman frame, using the hat frame for guidance on placement, sew with white thread along with the inside of the snowman frame to secure in place.


5. For the hat, using the frame as a guide pin or clip together the two pieces to guide where to sew them together, along the three edges. Note if you are using a different colored thread, then sew a bit closer to the outside edge to make sure you have enough material since it needs to be flipped over to hide the seam. For the scarf, cut two strips along the long edge of the red felt sheet. I cut them about an inch wide and sewed them together at one end. The color of thread used here does not matter as the seam will not be visible behind the snowman. After you place the hat and add the scarf, you can make a few snips at the ends of the scarf to make it look like fringe on the scarf. Once you have placed the hat you can apply the black strip finding the perfect placement, then secure the strip with a few stitches in the back at both ends of the strip.

6. Using the ear and hat as guides pin the eyes and nose to the top circle. Sew in place using black thread. For the mouth, shape the long piece of black felt into a smile, cutting it down to a smaller length if you prefer, and pin it into place, then sew with black thread. And you are done!

This is a pretty easy project to make. With the low cost of materials, the ease of working with felt and sewing the pieces, and making the patterns on scrap paper first, it is worth trying it out. It is also is something that could be upgraded using some different materials or adding some additional steps. If you have any questions about making this let me know.
I would love to see if you make one! Tag me on instagram so that I can see it.


Comments
Post a Comment